English
  Español
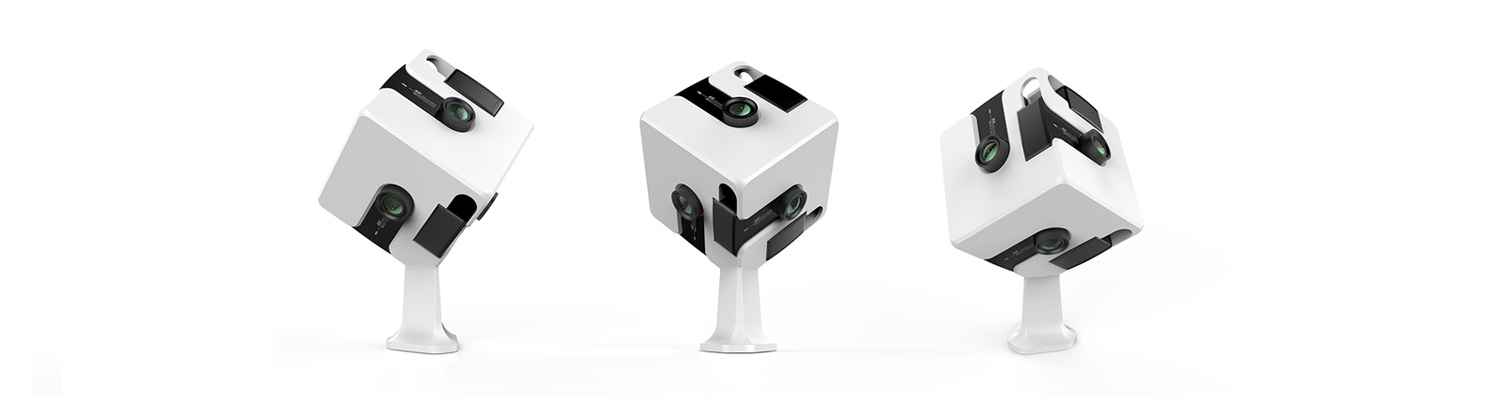
We have been working with 360 image capturing for a while now, and when the new Yi 4K Action Camera came out, we where excited to test its performance and possibilities. First we had to build a rig to house the 6 camera configuration we had in mind, so we used Martin Chiu's 3D model to print the rig ourselves. Yes, it's designed for 6 GoPros (version 3 and 4), but we figured out it would fit the Yi, and so it did. Check the result in the following picture (without the cameras in the cases).

As you can see it's not as beautiful as the newly published rig in Yi's developer site, but it does the trick. After sorting out the rig, we realised we needed a way to synchronize the capture between all the cameras. At the time there were no solutions availiable for the Yi 4K, so we decided to create our own. We called it Yi 4K Ultimate Remote, and it's availiable in Google's Play Store.
Features
Version 1.2 has the following improvements:
- Updated to Yi latest API v. 0.6
- Tested with up to firmware 1.9.4
- Added a button to check that all cameras are still connected to the controlling phone.
- Minor UI aesthetical improvements.
- Fixed some minor bugs.
- Improved app flow.
- Checked compatibility with Yi 4K+.
Version 1.0 has the following features:
- Photo, video and time lapse synchronized capture.

- Virtualy unlimitted number of cameras connected to one remote app. Tested with up to 6 cameras.
- Synchronized configuration. Configure your photo, video and time lapse capture settings in the app and synchronize it to all connected cameras simultaneously.
- Synchronization control check. Pretty useful functioanlity just to make sure all configurations are synchronized. Specially usefull if you take one camera out of the rig, change its configurations, and are not sure about it when you put it back.
Resolutions
Although the camera itself has many resolutions possibilities, the API restricts the availiable resolutions as of v. 0.6 to the followin:
- 1920x1080 120P 16:9
- 1920x1080 30P 16:9
- 1280x720 60P 16:9 super
- 2560x1920 30P 4:3
- 1280x720 120P 16:9 super
- 1920x1080 30P 16:9 super
- 1920x1080 60P 16:9
- 1920x1080 120P 16:9 super
- 1920x1440 60P 4:3
- 1280x720 240P 16:9
- 840x480 240P 16:9
- 3840x2160 30P 16:9
- 1280x960 120P 4:3
- 1920x1080 60P 16:9 super
- 3840x2160 30P 16:9 super
- 1920x1440 30P 4:3
- 1280x960 60P 4:3
How to use it
-- DISCLAIMER: the functionality of this app is restricted to WIFI capabilities. Although practical, WIFI connections suffer from loads of interferences and inconveniences, which we cannot be responsible for. In case of bad camera connections try reconnecting cameras and restarting the app. Make also sure that your pone can accept as many devices as you need connected via WIFI --
There is still some improvement to be done to make the process absolutely user friendly, but this is the easiest way to do it right now:
- As of firmware version 1.8.8 Yi introduced two WiFi modes in the firmwae: AP and Station. Make sure to have your camera in AP Mode
- Use an Android phone to create a wifi hotspot to connect your cameras to. Here is a tutorial on how to do this: Create your own hotspot. Write down your SSID and the network password you have just configured in your phone. In our example we will use YourHotspotSSID as SSID and YourHotspotPassword as password.
- Now, go to your computer and create a new text file named sta.conf with your prefered text editor. We used Window's Notepad. Just remember to save the file in plain text format. Enter this text in the file:
##### Wifi configuration file #########
# SSID
SSID= YourHotspotSSID
# Password
PASSWORD= YourHotspotPassword
# Device Name
DEVICE_NAME= UniqueCameraName
# Country Code
COUNTRY_CODE=US
- Note that every camera in the rig has to have a different and unique DEVICE_NAME. We ussualy use Camera1, Camera2, ... Note also that the CONTRY_CODE variable is US. Even if you are not in the US you're going to have to use that, because the only two options right now are US an CN (for China). As firmware version 1.4.14 several country options are availiable. Just make sure that camera and config file values are the same.
- Copy the respective sta.conf files to each camera's Micro SD Cards through a USB connection or with a micro SD adapter.
- The sta.conf file will be loaded by the cameras as soon as you turn them on. After a couple of minutes all cameras should be connected to your wifi hotspot.
You are now ready to start the capture!